Showing posts with label wood-fired oven. Show all posts

Friday, September 6, 2019

Wood-Fired Pizza Oven Update - The Mystery of the Hairy Oven

My friends, we have fire.

Sort of.

As you will no doubt recall, the pizza oven, when last we left it, was a pile of clay and sand and straw, all supported by a giant sand dome.

Now, it's a pile of clay and sand and straw, all supported by hopes and dreams.

A couple days ago, I was able, with shaking hand, to cut out the inner door and remove the sand.

Doctor? The patient is ready.
I KNEW that playing Operation as a kid would serve me well.

I see newspaper!!

Kerri thought it was adorable that I was giggling. I am adorable, darn it.

Inner door almost gone.

The middle managers want to make sure things are going smoothly.

The fear, of course, was that once the sand was removed, the entire thing would collapse. An outcome not to be desired.

So far, no collapse...

How much sand is in this thing?!?


It honestly took me about a half an hour to pull out all the sand.

It honestly took my back two days to stop aching.

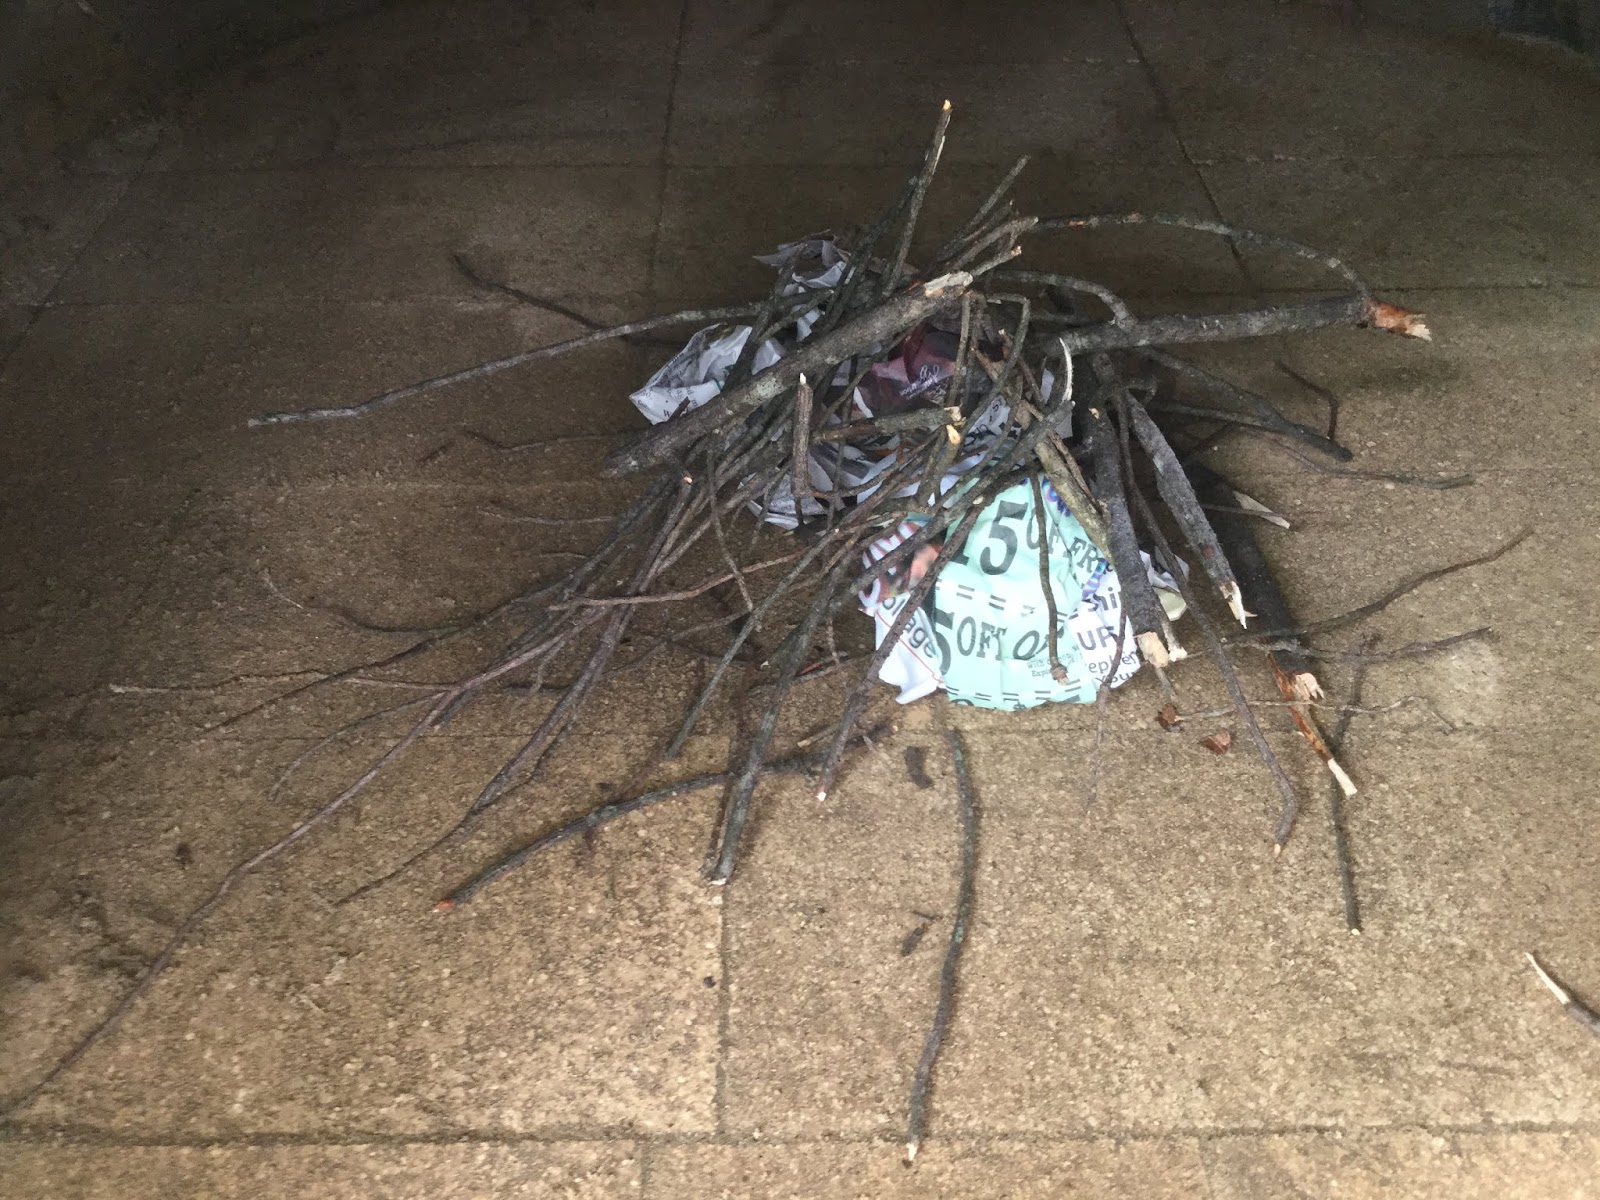
After all the sand was out and the entire thing didn't collapse into a pile of rubble and broken dreams, we started a very small fire inside. One of the blogs I got directions from recommended this as a way to dry the interior and exterior evenly.

Here we go...

Are you ready?

FIRE!!!

We spent several hours parked in front of the oven, feeding twigs into the tiny fire.

It burned well, so I think it has a nice draw for air.

Now, it needs to dry completely before we can really fire it up.

And I need to figure out why it's starting to sprout hair. Yesterday, I noticed small green shoots growing out of the damp cob.

Oh, please get covered in sprouts.

Especially if these happen to be garlic!

It will be the world's biggest chia head!
I'll figure out how to mow this thing and then I'll build a door.

And then, it's pizza party time!


Sunday, September 1, 2019

Wood-Fired Pizza Oven Update!

Well, it's officially an oven.

I guess, technically, it's still a pile of unusable earthen material, but it certainly looks like an oven.

After the cob cap had dried, I needed to add the actual fire brick deck of the oven. I cut paper bricks out to help figure out the best arrangement.

It's the world's lamest jigsaw puzzle.

Then, I put down some actual bricks because the paper ones, while less expensive, didn't seem durable enough.

I sifted sand on to the cob cap to level it and give the bricks a solid base.

I used a rubber mallet to even edges and, on occasion, hit my thumb.

And I sifted a LOT of sand. It's even less fun than it sounds like.

Once all the bricks were placed, I drew a rough outline of where the interior of the oven would be.

Because the stone base that I built was not what I could broadly refer to as a perfect circle, I need to make some adjustments. The interior of the oven I had planned wasn't going to work so I cut out a paper circle to use as my new guide.

Naturally, this meant that I had to take off all the bricks and start that process over again.

It's not a big deal, and I want this done right, but it's never fun to have to begin again.

After the bricks were laid down again and everything looked like it might work, I began building the sand form. Remember when you were a kid and you played in a sandbox and it was so much fun?

Somehow, it loses some of its appeal as you age.

It wasn't bad, but piling handful after handful of sand grows somewhat less exciting after an hour or so.

Not big enough yet.

Maybe a little taller?

And a little wider?

Not even close. The dowel has the height of the dome marked on it. 23.25 inches.

How about this? 

The boss did not approve of my design.

The final sand form, ready to get built on.


I tried to do as much research as I could, but I was still learning as I went along. The height of the interior dome needs to be 75% of the diameter of the dome. So, if a pizza train leaves the diameter at one o'clock, traveling at 400 degrees per gallon, how many miles will it take to fill up six buckets of sauce?

Math has never been my strong point, but I think I figured it out.

Now that the dome was built, it was time to get messy.

For this, it's best to have a friend. Fortunately, I do have a friend.

Meet Ben.

Ben is the handsome fellow on the right.

Ben has been my best buddy since we were 10 years old and, as a happy coincidence, Ben is a potter.

As a happier coincidence, Ben was very willing to come spend a day at my house stomping wads of mud and slapping them on a pile of sand.

The sand dome is covered in newspaper, I presume, so you have something to read while you work.

Then, we put two layers over the sand dome. The first is a mix of sand and clay. This layer is thermal mass that will heat up when we build a fire in the oven.

You mix the sand and clay with your feet.

If you have the right music and the right partner, this can become a dance party.

Then you build up that thermal mass over the newspaper covered sand form.

Our first batch wound up being a bit too wet and it was sagging. Ben and I are getting old, so we had sympathy for things that are sagging. We pulled off our first layer and started over.

It was a smart choice.


Ben and the laying on of hands.

Ohhh, look what's in the news today!

Almost done!
We mixed batch after batch of the thermal mass, slowly piling it up around the sand form. Ben did most of the work because I kept stopping to read the paper.

After it was built, we scored the outside with sticks and poked holes with our fingers to give the next layer something to grab on to.

The first layer is then covered with a second layer. This layer acts as insulation to retain the heat. It is sand and clay with the addition of a lot of straw.

More dancing!

Swing your partner, Do-Si-Do!

Spread that straw

And off we go!

There was a LOT of stomping involved in this process.

It's starting to look like an oven!

Not shown in photo: chickens relentlessly stealing and spreading our straw!

We piled on more and more cob, formed the outer doorway and then, as if by magic...

It's an oven!

Can we have pizza now?

And now, we wait.

After a few days of drying, I'll cut the inner layer of the doorway away and scoop out the sand. Then there will be one more thin layer of earthen plaster to cover the oven and it will be pizza time!

Thanks so much to Ben for all his help, guidance, and fancy dance moves.

Sunday, August 4, 2019

Wood-Fired Pizza Oven Saga: Part 5 - COB!!

As you may remember, in our last episode, our hero was a battered, broken old man - sore and cranky from having to take his stonework apart and rebuild it.

Now, he is considerably less sore, but his feet are much dirtier.

This is the new, improved stone base.
Top view. With any luck, this one won't collapse.


Now that the base was finished, Kerri and I zipped up to Portland, Maine to get 300 pounds of fire clay. Fire clay, as the name implies, will send a burning hot shot of pain through your back, like fire, when you schlep 300 pound of it around.

But don't worry. I know how to fix that.

The next step is to drink away the pain so you have enough bottles to insulate the bottom of the oven. Of course, I am kidding. I enlisted many, many friends to help with this painstaking process, and, after months and months of sensible consumption, I had the small number of glass bottles I needed to proceed.


Now, all I needed was about 600 pounds of screened sand. Fortunately, because of the digging I did earlier, I had the sand. Also, I tore up the kids' old sandbox from the yard. They don't know yet, so please don't tell them.

I used a hunk of old window screen and sifted several hundred pounds of sand into a big, blue bin.

That is a LOT more sand than it looks like. 

Now comes the fun part.*

*Your levels of fun may vary, Results not guaranteed.


I have to build a flat, insulated cap to cover the stone base.

Chicken comes around for the fun parts. Where was she when I was schlepping 300 pounds of clay?

We mixed sand, clay, water, and straw to make a building material called cob. Tori was giddy with excitement at the prospect of helping with this part. But where was she when I was schlepping clay? Probably with the chicken. Hiding in the bushes.

Cob is traditionally mixed by foot. And, I'm not going to lie. This was a lot of work, but it was a lot of fun.

Sand and clay. Tori still hasn't figured out that this is her old sandbox. Shhhh.

Add some water.

Mix it on the traditional plastic tarp, just like they did hundreds of years ago.

Tori really, really liked this.

A lot.


After the clay and sand and water are mixed, you incorporate some straw for structural stability.

The chickens were helping.

By spreading the straw all over the lawn when we weren't looking. Our first pizza may be a chicken pizza.

HA! Nice try, chickens. We got the straw back!

The straw gets stomped in by foot, too.

You can turn this into a fun dance party with your daughter. Or, like me, you can tell her it is a fun dance party as you lean on her for support because you are so tired from all this darned stomping.

And you keep stomping. Or, rather, your daughter does. I was watching those sneaky chickens.
After you have a nice pile of cob, you start building the insulated base with a wall.

Tori seriously loved this part. 

And she did a great job helping.

I did a great job micro-managing.

This wall is then filled with insulating material.

See? And you thought they were just for fun? Nope. 
You cover the bottles with pearlite so nobody can see what you drink.


It looks like a fancy cake. Depending on your idea of fancy.

After you add the pearlite, you chase the chickens out of the straw again and make another batch of cob to cap everything off.

Goodbye bottles. You served us well.

I'll never forget you!

Tori is less emotional about the bottles than I am.

Flatten out the cap.

Have your daughter get all weird on you as you work.

And then pose for the obligatory thumbs-up picture when you're done.

Rather than signing it, Tori requested the we press our toes in the wet cob. It was rather satisfying.

Now the cap has to dry for a while. The next step will be to drag my buddy Ben over to build the actual dome of the oven. We'll probably do that in a few weeks.

Stay tuned!